How to Use Braided Picture Wire for a Secure and Level Hanging
Why Picture Wire Matters More Than You Think
I have hung a lot of pictures over the years, and I have made just about every mistake you can make. I have used cheap wire that snapped under the weight of a sturdy frame. I have trusted a single nail that pulled out of the wall three weeks later. And I have spent far too long trying to get a frame level, only to watch it slowly tilt to one side the next day. The common thread in all those failures was the hanging hardware I chose, specifically the picture wire.
Most people grab whatever wire comes with the frame or pick up the thinnest spool at the hardware store without thinking about it. That is a mistake. The wire is the only thing holding your art to the wall, and if it stretches, frays, or slips at the knot, the whole setup fails. After switching to braided picture wire, I stopped having those problems. It is not a fancy upgrade; it is the standard that professional framers use because it works.
This article is a practical look at how to select, cut, and attach braided picture wire so your pictures stay exactly where you put them. I will walk through the tools, the knots, and the small adjustments that make the difference between a hanging that looks good and one that stays good for years.
What Braided Picture Wire Does That Single Strands Cannot
Picture wire comes in two basic constructions: twisted and braided. Twisted wire is made from a few strands of copper wire twisted together. It is cheap and it works for lightweight pieces, but it has a tendency to stretch under load. Over time, a twisted wire will sag, and that sag pulls your frame out of level. Braided picture wire, on the other hand, is woven from multiple strands of copper wire in a pattern that distributes tension evenly. It resists stretching and holds its shape much better.
The braided construction also makes the wire more flexible without sacrificing strength. You can bend it around a d-ring hanger or a picture hook without kinking, and it stays where you bend it. That flexibility is helpful when you are trying to get a taut wire that does not sag in the middle. A taut wire is the foundation of a level hanging because it keeps the frame's weight centered on the wall anchor.
I have used both types, and I can tell you that the difference becomes obvious as soon as you pick up a frame with braided wire. The wire feels solid in your hand. It does not have that loose, springy feel that twisted wire gets after a few months. If you are hanging anything heavier than a small poster, braided picture wire is the right choice.

Selecting the Right Wire Gauge for Your Frame
Picture wire is sold by gauge, and the gauge number tells you the thickness of the wire. A lower gauge number means thicker, stronger wire. For a small frame under five pounds, a 22-gauge wire might be fine. But for a sturdy frame holding a heavy canvas or a large mirror, you want something in the 18-gauge or even 16-gauge range. Heavy duty wire in those thicker gauges is still flexible enough to work with, but it will not snap under the load.
The key is to match the wire to the weight of the frame plus the weight of whatever is inside it. A common rule of thumb is that the wire should be rated for at least three times the weight of the piece. That safety margin accounts for the fact that a knot weakens the wire slightly, and that the wire might rub against the frame backing over time. Do not guess. Look at the weight rating on the spool and compare it to your frame. Most braided picture wire spools list the safe working load right on the label.
I once hung a large framed mirror using 20-gauge twisted wire because it was what I had on hand. The mirror was about fifteen pounds, and the wire held for a while. But over the course of a year, the wire stretched enough that the mirror started tilting forward, pulling the bottom of the frame away from the wall. I replaced it with an 18-gauge braided picture wire, and the mirror has not moved since. That experience taught me that the wire gauge is not just about breaking strength. It is also about long-term stability.
Tools You Will Need for the Job
You do not need a lot of fancy equipment to hang a picture with wire, but a few specific tools make the job easier and the result more reliable. Here is the short list of what I keep in my hanging kit:
- A good wire cutter. Do not use scissors or a pocketknife. A proper wire cutter gives you a clean, straight cut that does not fray the ends of the wire.
- A pair of needle-nose pliers. These help you pull the knot tight and tuck the cut end of the wire so it does not poke out and scratch the wall.
- A tape measure and a small level. You need these to mark where the picture hook goes and to check that the frame sits level after you hang it.
- The hanging hardware itself: a picture hook with a wall anchor rated for the weight of your frame, and a set of d-ring hangers for the back of the frame.
If you are working with a particularly heavy or valuable piece, you might also want a stud finder to locate a wall stud for extra support. But for most pictures, a good wall anchor driven into drywall is sufficient if the anchor is rated for the load.
How to Attach Braided Picture Wire to a D-Ring Hanger
The most common method for attaching wire to a frame is to use a pair of d-ring hangers screwed into the frame backing, one on each side. The wire runs between the two rings, and the tension from the picture hook in the center holds the wire in place. Getting the wire attached securely comes down to one knot: the stevedore knot.
The stevedore knot is a variation of the figure-eight knot that creates a larger, more secure stop. It is the knot that professional framers use because it does not slip under load. Here is how I tie it:
- Cut a length of braided picture wire about twice the width of your frame plus an extra eight inches. That extra length gives you enough wire to work the knots on both sides.
- Thread one end of the wire through the d-ring hanger on the left side of the frame. Pull about three inches of wire through the ring.
- Form a loop in the wire just above the ring, then wrap the free end around the standing part of the wire twice. Pass the free end back through the loop and pull it tight. That is your stevedore knot.
- Repeat the process on the right side, making sure the wire is pulled taut between the two rings. Do not overtighten it. You want the wire to be taut but not stretched to the point of distortion.
- Trim the excess wire close to the knot with your wire cutter, then use the needle-nose pliers to tuck the cut end under the knot so it does not stick out.
That knot will not come undone. I have tested it with heavy frames, and it holds every time. The stevedore knot is one of those small details that separates a professional hanging from a DIY job that looks fine for a week and then starts to slip.
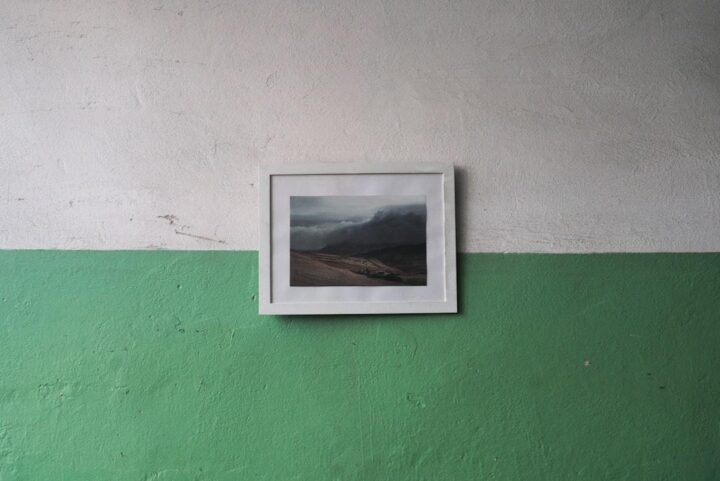
Balancing the Picture on the Wire
Once the wire is attached to both d-ring hangers, the next step is to find the balance point. This is where many people get frustrated. You hang the frame on the picture hook, and it tilts one way or the other. The fix is simple, but it requires a little patience.
With the frame face down on a soft surface, lift it by the wire at the center point where the picture hook will catch it. Let the wire settle naturally, and you will see which side of the frame is heavier. If the frame tilts to the left, you need to slide the wire a little to the right through the d-ring on that side. The wire is adjustable, so you can loosen the knot, shift the wire, and retighten it until the frame hangs level.
This process of balancing the picture is where a slip-proof connection matters most. If your knot slips even a fraction of an inch, the frame will drift out of level over time. With braided picture wire and a proper stevedore knot, the wire stays put. I have frames in my house that I balanced once years ago, and they have not needed adjustment since.
Another trick I use is to run the wire through a small piece of clear tubing where it passes over the picture hook. That tubing protects the wall from wire marks and also helps the wire slide smoothly if you need to make a small adjustment. It is not strictly necessary, but it is a nice touch that shows attention to detail.
Choosing the Right Picture Hook and Wall Anchor
The wire is only half the system. The picture hook and wall anchor on the wall side are just as important. A picture hook with a single nail is fine for a small frame, but for anything weighing more than ten pounds, you want a hook that uses two nails or a hook that is designed to distribute the load across a larger area. The goal is to drive the nails into a wall stud if possible, or use a wall anchor that expands behind the drywall to hold the weight securely.
I have seen too many frames fall because someone used a cheap plastic anchor that cracked under the load, or because they drove the nail into the drywall without any anchor at all. The drywall itself is not structural. It will hold a lightweight frame for a while, but it will eventually crumble under sustained weight. A proper wall anchor or a stud-mounted hook is the only way to ensure the picture stays up.
When you buy a picture hook, look at the weight rating on the package. Do not exceed it. And if you are hanging something that is valuable or heavy, consider using two hooks spaced a few inches apart. That setup gives you a wider base of support and reduces the stress on each individual anchor.
Cable Management and the Final Check
Once the frame is on the wall and level, take a moment to look at the wire behind it. If the wire is very long and loops down behind the frame, it can create a visible bulge or a shadow on the wall. This is where a little cable management comes in. You can wrap the excess wire around the d-ring hanger or tuck it behind the frame backing to keep it out of sight. A neat installation looks professional, and it also prevents the wire from catching on furniture or curtains.

I also recommend giving the frame a gentle tug after you hang it. If it moves or shifts, check the knots and the wall anchor again. It is better to find a problem while you are standing there than to walk away and come back to a tilted frame later.
Braided picture wire is not the most exciting topic in the world, but it is one of those things that makes a real difference in how your home looks and feels. When a picture hangs straight and stays that way, you stop noticing the hardware and start enjoying the art. That is the whole point.
Whether you are hanging a single framed print or a gallery wall full of heavy pieces, taking the time to use good wire, the right knot, and the proper anchors will save you frustration and protect your walls. The next time you are in the hardware aisle, reach for the braided picture wire instead of the cheap spool. Your frames will thank you.